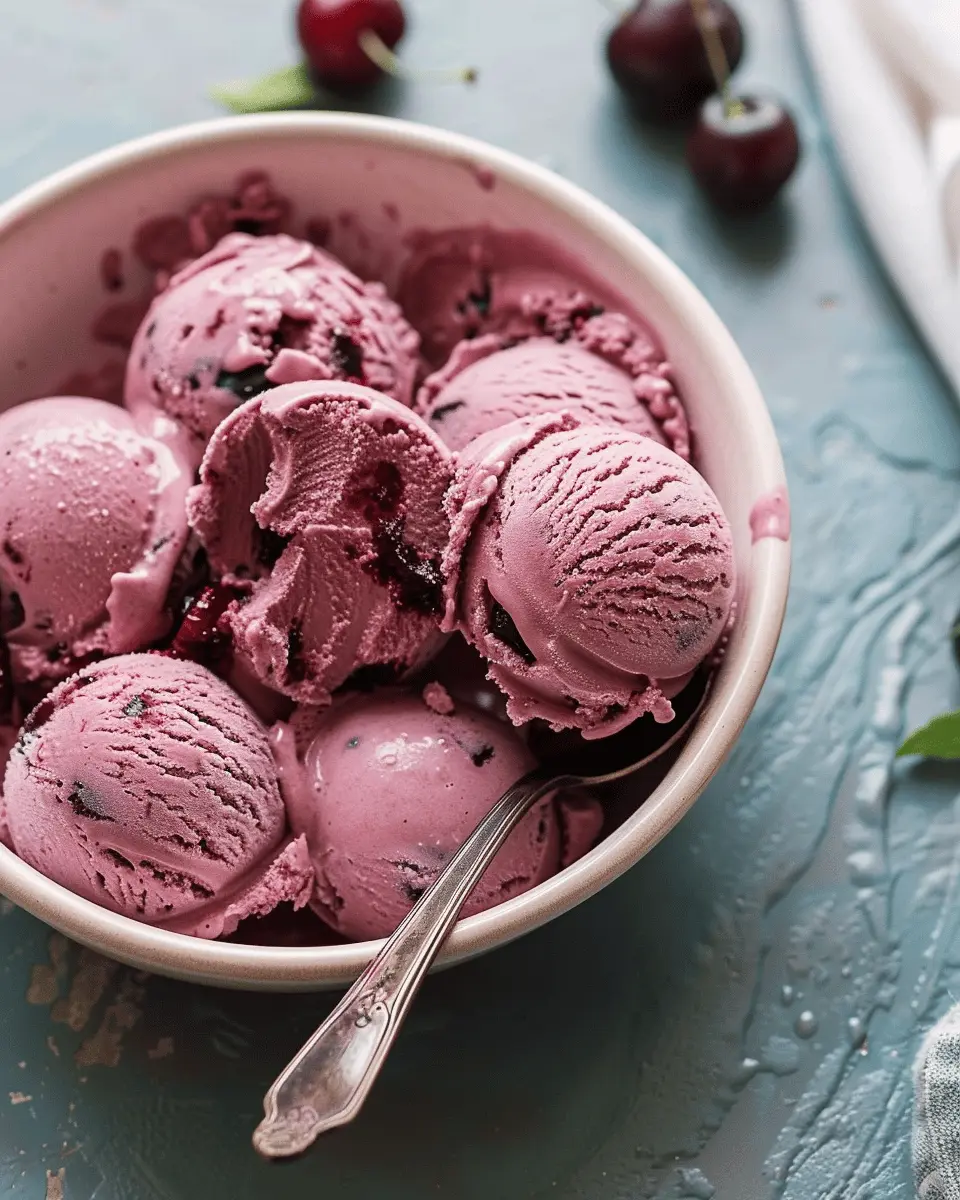
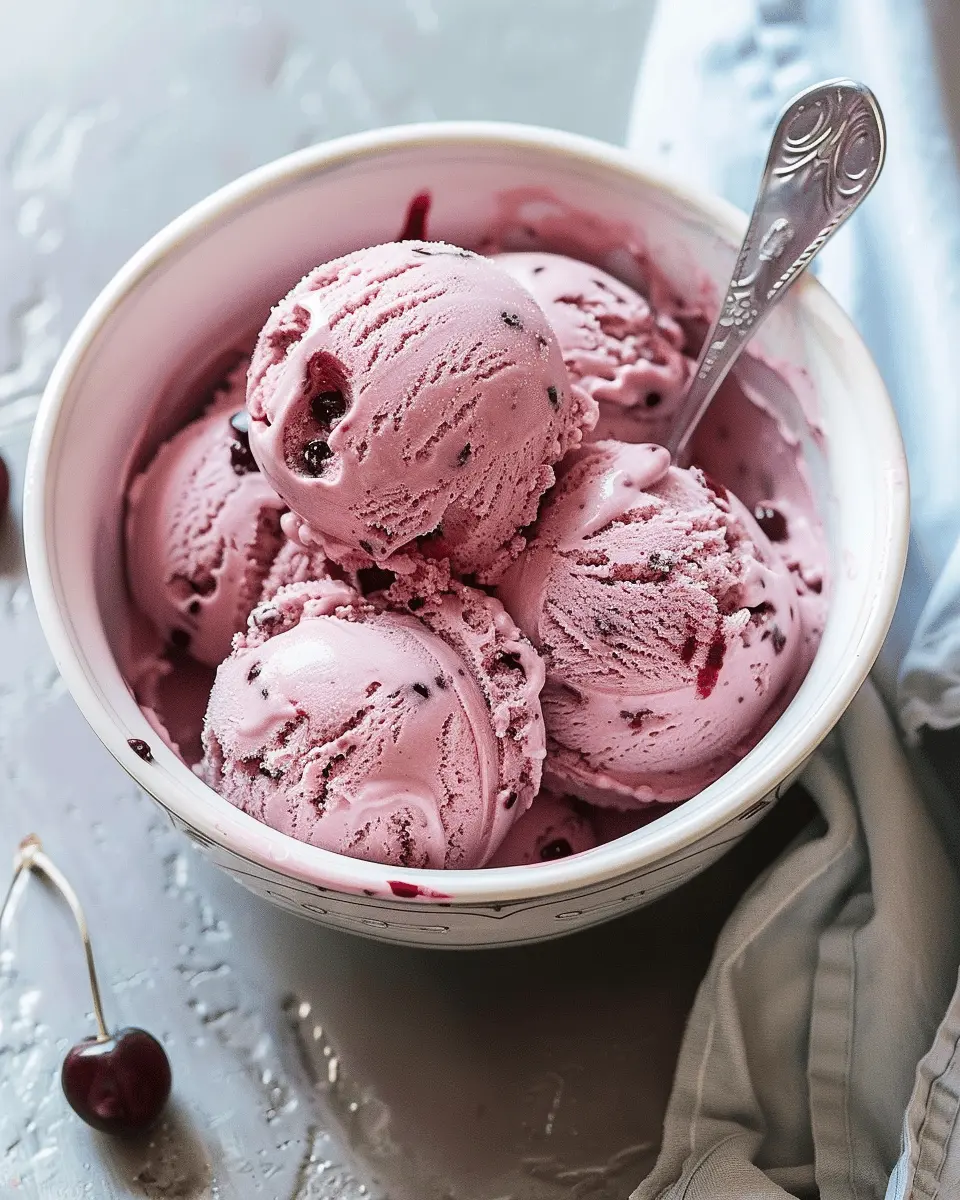
Introduction to Black Cherry Ice Cream
When the sun is blazing, nothing quite hits the spot like a scoop of homemade ice cream. You know the kind—the rich, creamy goodness that melts effortlessly in your mouth. If you’ve ever wondered how to elevate your ice cream game, let me introduce you to the delight that is black cherry ice cream. With its vibrant color and tart yet sweet flavor, this treat is an unforgettable experience that pairs perfectly with hot summer days.
The Joy of Homemade Ice Cream on a Hot Day
There’s something incredibly satisfying about making ice cream from scratch. The process allows you to take the ordinary and turn it into something extraordinary. Did you know that making your own ice cream can be a great way to control the ingredients? You can avoid unnecessary preservatives and additives while using fresh, wholesome fruits, such as sweet, juicy black cherries. Plus, the satisfaction of serving up a bowl of your creation to friends and family is worth its weight in gold.
In a recent study, it was found that homemade ice cream has a significantly lower amount of sugar compared to store-bought varieties, making it a healthier option for those warm summer moments. If you’re concerned with what goes into your treats, you can adjust sweetness levels to your liking with ease.
Imagine lounging on your patio, the sun shining brightly, as you indulge in black cherry ice cream. The tartness of the cherries contrasts beautifully with the creaminess of the ice cream, and every spoonful is an invigorating burst of flavor. This isn’t just dessert; it’s a reason to celebrate the season!
In this article, we’ll guide you through a simple yet delectable black cherry ice cream recipe. From selecting the best cherries to perfectly churning your mixture, we’re here to ensure your ice cream-making experience is a breeze. So, grab your ingredients and let’s create something delicious that will make all the hot days a little sweeter. For more tips on homemade ice cream, check out resources on sites like Serious Eats or BBC Good Food.
Ingredients for Black Cherry Ice Cream
What you’ll need for your creamy treat
Creating the perfect homemade black cherry ice cream is all about high-quality ingredients. To whip up this delightful frozen dessert, gather the following:
- 2 cups fresh black cherries: Look for ripe, juicy cherries for the best flavor. If fresh cherries aren’t in season, frozen cherries work well too.
- 1 cup heavy cream: This gives your ice cream that rich, creamy texture we all adore.
- 1 cup whole milk: A must-have for that smooth consistency.
- 3/4 cup granulated sugar: Adjust the sweetness to your liking, but don’t skimp too much—cherries can be tart!
- 1 teaspoon pure vanilla extract: A splash of vanilla enhances the flavors and brings everything together.
- 1 tablespoon lemon juice: This helps brighten the cherry flavor while balancing the sweetness.
With these ingredients at hand, you’re well on your way to enjoying a luscious homemade black cherry ice cream recipe. For tips on sourcing the best cherries, check out the Cherry Marketing Institute or dive into cherry nutrition facts from Healthline.
Step-by-step Preparation of Black Cherry Ice Cream
Making black cherry ice cream at home can be an incredibly rewarding experience. The taste of fresh, rich cherries blended with creamy goodness is something that you and your friends will surely love. Plus, it’s a fun project to tackle on a warm weekend afternoon! Let’s walk through the process step by step.
Gather Your Ingredients
Before diving into the preparation, gather the following ingredients to ensure a seamless experience:
- 2 cups fresh black cherries, pitted and halved
- 1 cup heavy cream
- 1 cup whole milk
- ¾ cup granulated sugar
- 1 tablespoon vanilla extract
- A pinch of salt
- Optional: 2 tablespoons lemon juice for a touch of acidity
With everything ready, let’s get started on that delicious black cherry ice cream recipe!
Prepare the cherries
The first step is to prepare the cherries. Fresh cherries are key to bringing out the rich flavor of your ice cream.
- Wash the Cherries: Rinse the cherries thoroughly under cold water to remove any dirt or residues.
- Pit the Cherries: Use a cherry pitter or a knife to remove the pits carefully. This is a vital step, as a pit in your ice cream could lead to an unpleasant surprise!
- Chop or Mash: Depending on your preference, you can either leave the cherries halved for chunks of fruit in your ice cream or mash them slightly to release their juices.
This preparation step not only enhances the flavor but also adds a lovely texture to the ice cream.
Make the ice cream base
Next, we’re going to create a luscious base for our ice cream. This base is rich and creamy, the ideal foundation for our black cherry goodness.
- Mix the Dairy: In a medium saucepan, combine the heavy cream, whole milk, and granulated sugar.
- Heat the Mixture: Over medium heat, stir until the sugar has dissolved completely, but do not let it boil. Heat helps meld the flavors, making it extra creamy.
- Add Flavorings: Once the sugar is dissolved, remove from the heat and stir in the vanilla extract and salt. If you opted for lemon juice, now’s the time to add it!
This base is the heart of your ice cream, and you could even use it in other ice cream flavors down the road!
Combine the ingredients
Let’s bring everything together. This step is crucial for blending the flavors.
- Cool the Base: Allow your ice cream base to cool to room temperature, then refrigerate for at least 2 hours, or overnight if you have the time.
- Fold in the Cherries: Once the base is chilled, fold in your prepared cherries gently, making sure they’re evenly distributed throughout the mixture.
Taking the time to chill your base not only improves the texture of your ice cream but also deepens the flavors.
Churn the ice cream
Now comes the fun part—churning! This step introduces air into the mixture, creating that light, fluffy texture we all love in ice cream.
- Prepare the Ice Cream Maker: Make sure your ice cream maker is ready to go. If it requires pre-freezing, ensure it’s been in the freezer for the recommended time.
- Churn Away: Pour your cherry mixture into the machine and churn according to the manufacturer’s instructions. Churning typically takes about 20-30 minutes. Depending on the machine, it may vary.
As it churns, you’ll notice the mixture thickening beautifully, which means you’re on the right track!
Freeze and enjoy
Finally, it’s time to take your black cherry ice cream to the next level!
- Transfer to a Container: Once churned, transfer the ice cream to an airtight container, smoothing the top with a spatula.
- Freeze Longer: For firmer ice cream, freeze for an additional 2-4 hours. This will help it set perfectly.
- Scoop and Serve: When you’re ready, scoop out your delicious homemade ice cream into bowls or cones. Consider garnishing with fresh cherries or a drizzle of chocolate sauce for an extra special touch.
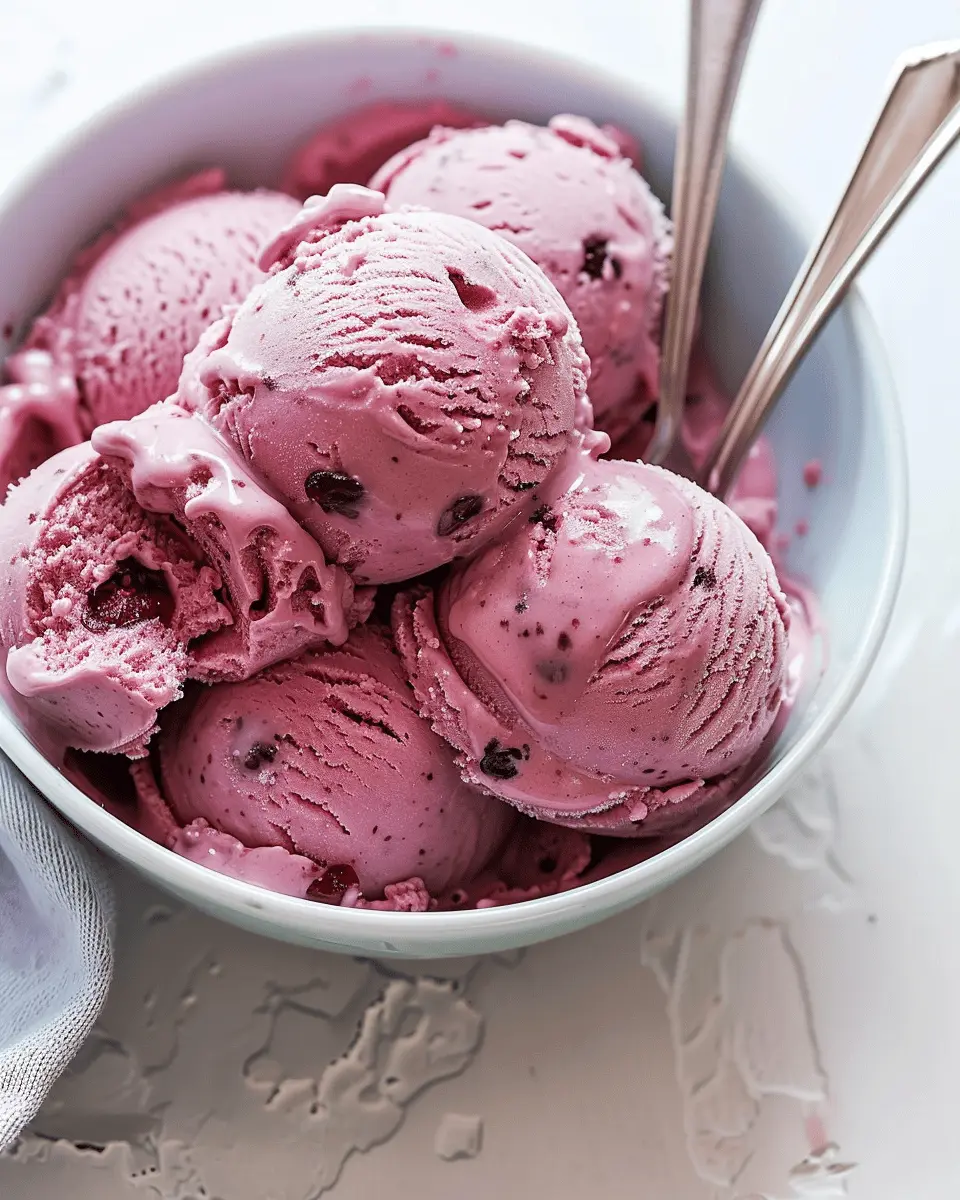
Nothing beats the satisfaction of a cold scoop of homemade ice cream on a hot day. Kick back and enjoy every bite of your black cherry ice cream, knowing you created it from scratch! For more unique ice cream flavors and tips, check out this handy resource for more inspiration.
Variations on Black Cherry Ice Cream
Black Cherry Chocolate Chip Ice Cream
If you’re a fan of contrasting flavors, then this twist on the classic black cherry ice cream recipe is perfect for you! The rich, sweet taste of black cherries paired with the indulgent crunch of chocolate chips creates a delightful treat. To make this variation, simply fold in semi-sweet chocolate chips during the last few minutes of churning your ice cream mixture. For an added gourmet touch, consider using dark chocolate for a more intense flavor.
- Ingredients:
- Standard black cherry ice cream mixture
- 1 cup semi-sweet or dark chocolate chips
By adding chocolate chips, you’ll end up with a gorgeous marbled appearance and a burst of flavor with every scoop. Try pairing it with a homemade chocolate sauce for an extra layer of decadence!
Vegan Black Cherry Ice Cream
For those who prefer a plant-based option, vegan black cherry ice cream is a fantastic and creamy alternative. By using coconut milk or almond milk, you can achieve that same luscious texture without any dairy. You’ll need frozen black cherries, which are not only delicious but also pack a nutritional punch!
- Recommended Ingredients:
- 2 cups frozen black cherries
- 1 can of coconut milk (full-fat for creaminess)
- 1/2 cup maple syrup or agave nectar
Simply blend these ingredients until smooth and freeze. This refreshing vegan option is an excellent way to indulge while being mindful of dietary preferences. For more ideas on vegan desserts, check out resources like Minimalist Baker for vegan ice cream inspiration.
With these variations, you’re sure to impress friends and family with your homemade black cherry ice cream. What variation will you try first?
Cooking Tips and Notes for Black Cherry Ice Cream
When you embark on this black cherry ice cream recipe, it’s all about achieving that dreamy, creamy texture you crave. Here are some helpful tips to guide your culinary adventure.
Tips for the Perfect Texture
-
Chill your base: Always chill your mixture before churning. This helps incorporate air efficiently, giving your ice cream that light and airy quality you desire.
-
Use full-fat dairy: Opt for heavy cream and whole milk for a richer flavor and creamier consistency. Dairy fat plays a crucial role in texture; the more fat, the smoother the ice cream.
-
Don’t skimp on the churning time: Allow your ice cream maker to do its job for the recommended time. If it’s under-churned, it may become icy instead of creamy.
-
Add fruit later: Incorporate your black cherries bit by bit after the base has churned to maintain their shape and prevent them from sinking.
For more tips on creating the perfect ice cream, check out Sierra Nevada’s gentle guidelines on ice cream techniques here.
Remember, practice makes perfect, and don’t hesitate to taste along the way!
Serving Suggestions for Black Cherry Ice Cream
When it comes to enjoying your black cherry ice cream, a little creativity can transform a simple dessert into a delightful experience. Here are some creative ideas to elevate your ice cream moment:
Toppings to Try
- Fruity Compotes: Enhance the cherry flavor by drizzling your favorite berry compote on top. It adds a delightful tanginess that complements the sweetness.
- Crunch Factor: Consider adding crushed nuts or granola for a satisfying crunch. Walnuts or almonds work beautifully with the smooth creaminess.
- Chocolate Drizzle: A rich chocolate sauce can turn your ice cream into a decadent treat. Dark chocolate will provide a beautiful contrast to the cherry flavor.
Pairing Ideas
- Fresh Fruits: Serve with fresh cherries or strawberries on the side for a refreshing taste. This brings not only color but also a burst of flavor.
- Chilled Beverages: Enjoy your ice cream alongside a refreshing iced tea or bitter lemon soda to balance out the sweetness.
These suggestions make every scoop of your black cherry ice cream recipe a little adventure. Why not invite some friends over for an ice cream sundae night? The possibilities are endless!
Time Breakdown for Black Cherry Ice Cream
Making your own delicious black cherry ice cream is a delightful process that offers you a rewarding treat at the end! Here’s how you can break down your time to make this creamy, fruity indulgence.
Preparation Time
The preparation for your black cherry ice cream recipe takes about 30 minutes. During this time, you’ll be gathering ingredients, pitting the cherries, and mixing them with the cream base. It’s a good idea to set everything up in your kitchen beforehand so you can enjoy the process without feeling rushed.
Churning Time
Once your mixture is ready, churn it in your ice cream maker for about 20-25 minutes. This step is crucial as it incorporates air into your mix, giving it that light and fluffy texture we all love. Keep an eye on it, and you’ll see it transform before your eyes!
Freezing Time
After churning, transfer the ice cream to a container and let it freeze for at least 4 hours, or overnight if you can resist! This final step ensures that your homemade treat has the perfect consistency when it’s time to serve.
For more tips on achieving the best texture, check out experts at The Kitchn.
Happy making! Enjoy each scrumptious bite!
Nutritional Facts for Black Cherry Ice Cream
When indulging in a homemade black cherry ice cream, knowing its nutritional facts can help you enjoy it guilt-free. Here’s a quick overview of what you can expect in a single serving:
Calories per serving
A typical serving of black cherry ice cream contains about 150 to 200 calories, depending on the recipe and specific ingredients used. For a richer, creamier texture, you might encounter higher calorie counts—typically from the heavy cream or sugar. Keeping this in mind can help you balance your diet while still enjoying delicious treats.
Sugar content
The sugar content in homemade black cherry ice cream generally ranges from 20 to 25 grams per serving. This sweetness often comes from both the black cherries and additional sweeteners added to enhance flavor. For those monitoring their sugar intake, consider reducing the sweetener or opting for a natural alternative.
If you’re curious about how these ingredients come together in your black cherry ice cream recipe, you can explore more about the health benefits of cherries on health sites like Healthline or Medical News Today. Staying informed about what you eat will only enhance your ice cream experience!
FAQs about Black Cherry Ice Cream
If you’re diving into the world of homemade ice cream with our black cherry ice cream recipe, you might have some questions swirling around your mind. Let’s sift through some common queries to ensure your ice cream adventures are nothing short of delightful!
Can I use other fruits in this recipe?
Absolutely! While the star of the show is black cherries, feel free to experiment with other fruits. Think ripe strawberries, sweet peaches, or tangy raspberries. Just keep in mind that different fruits have varying sugar levels and moisture content, which might alter the texture of your ice cream. It could be fun to combine a few for a unique flavor medley!
How do I store homemade ice cream?
To keep your black cherry ice cream tasting fresh, transfer it to an airtight container after churning. For best results, press a piece of parchment paper directly onto the surface of the ice cream before sealing the container. This prevents ice crystals from forming, ensuring a smooth treat every time you reach for it. Homemade ice cream can last about 2-3 weeks in the freezer, but we doubt it’ll last that long!
What if I don’t have an ice cream maker?
No ice cream maker? No problem! You can still whip up a delicious batch using a simple method. Just pour your mixture into a shallow dish and place it in the freezer. Every 30 minutes, stir it with a fork to break up any ice crystals. Repeat this for a few hours until it reaches your desired consistency. It might take a bit more time, but the end result will be just as luscious!
For more tips and tricks on ice cream making, visit sources like Serious Eats for inspiration. Enjoy your homemade treats!
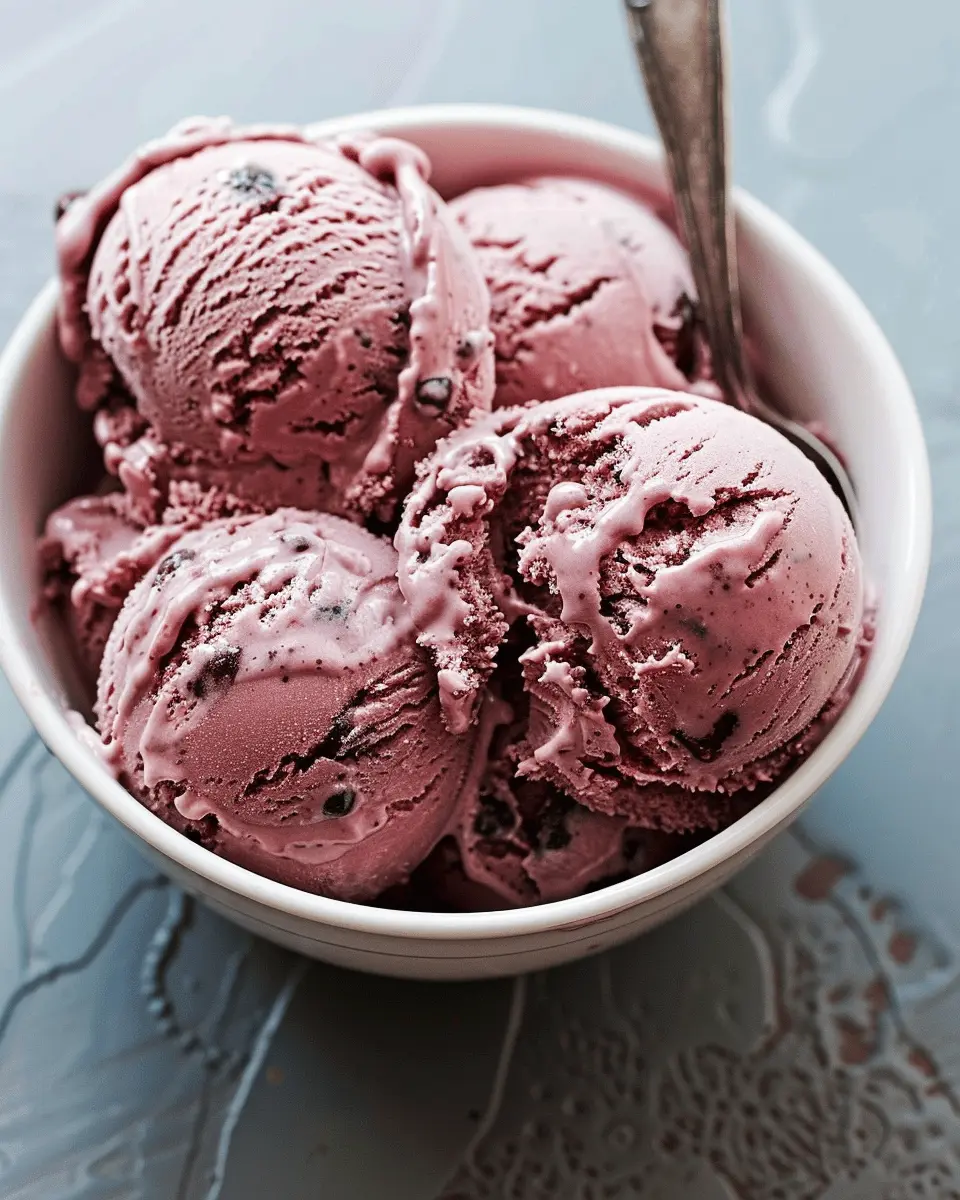
Conclusion on Black Cherry Ice Cream
The Ultimate Summer Treat at Home
In the world of frozen desserts, black cherry ice cream stands out as a refreshing and delightful option. With its rich, fruity flavor, this homemade treat is perfect for warm summer days when you crave something sweet and satisfying. Making this ice cream at home allows you to enjoy its intense flavor without any artificial ingredients—how great is that?
Plus, it’s a fantastic way to impress friends or unwind after a long day. Pair it with a slice of chocolate cake or serve it in a bowl with fresh cherries for a gourmet touch. For more summer dessert ideas, check out this article on creative treats that’ll keep you cool. Remember, the joy of crafting your black cherry ice cream recipe lies not just in the taste but in the experiences it brings. Enjoy every scoop!
PrintBlack Cherry Ice Cream Recipe: The Best Homemade Delight
Indulge in the rich and creamy texture of homemade black cherry ice cream that is sure to impress. Perfect for a summer treat or any occasion.
- Prep Time: 10 minutes
- Total Time: 6 hours 10 minutes
- Yield: 4-6 servings 1x
- Category: Dessert
- Method: No-Cook
- Cuisine: American
- Diet: Vegetarian
Ingredients
- 2 cups heavy cream
- 1 cup whole milk
- 1 cup black cherry puree
- 3/4 cup granulated sugar
- 1 teaspoon vanilla extract
- 1/4 teaspoon salt
Instructions
- In a mixing bowl, combine the heavy cream, whole milk, sugar, vanilla extract, and salt. Whisk until the sugar is dissolved.
- Add the black cherry puree and mix until well combined.
- Chill the mixture in the refrigerator for at least 2 hours.
- Pour the chilled mixture into an ice cream maker and churn according to the manufacturer’s instructions.
- Transfer the churned ice cream into a container and freeze for at least 4 hours before serving.
Notes
- For a smoother texture, strain the cherry puree before adding it to the mixture.
- You can adjust the sweetness by adding more or less sugar according to your taste.
Nutrition
- Serving Size: 1/2 cup
- Calories: 250
- Sugar: 20g
- Sodium: 50mg
- Fat: 16g
- Saturated Fat: 10g
- Unsaturated Fat: 4g
- Trans Fat: 0g
- Carbohydrates: 28g
- Fiber: 0g
- Protein: 3g
- Cholesterol: 80mg
Keywords: black cherry ice cream, homemade ice cream, dessert recipes